Getting the perfect fire going in your fireplace or stove can take a little time, especially if you’re not yet used to lighting fires or feel out of practice.
We recommend that you practice often, with plenty of roaring fires! However, most of all, we thought we’d offer a few tips.
Assemble your Tools
To light your fire, you’ll want a long match or taper (and possibly even some spares!), eight pieces of wood kindling, three small kiln dried hardwood logs and one wood wool firelighter.
These will get your fire started, with other logs to be added as needed while your fire burns.
Making the Stack
At the centre of your grate, set the firelighter down and build a stack around it with the criss-cross ‘Jenga’ pattern. This makes sure the fire will spread evenly from the firelighter to the kindling.
Light the Firelighter
Using your long match or your taper, set light to the wood wool of the firelighter. Be careful to keep your fingers out of reach of the flame!
Wait for Kindling to Catch
The kindling won’t catch immediately; it takes a couple of minutes, and you have to wait for the kindling to catch properly before the next step.
Our recommendation? Use the time to make a cup of tea.
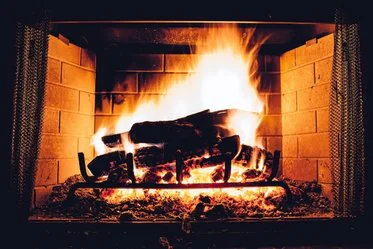
Build the Fire
Once that kindling has caught, it’s time to build the fire. This is where those small hardwood logs come in. Add them one at a time, with time for each of those logs to catch.
After the three small logs are all burning you can start to add larger logs for a slower burn.
Even Heat
Once your larger logs are starting to burn through and char, one or two more large logs should be added to ensure the fire burns with an even heat.
This step is also where that cup of tea you made back in step three really comes into its own!
